Project Setup
How to Set Up and Deploy the Blog Project
Follow these steps to set up the blog project, replace site metadata, write blog posts, and deploy it to production.
1. Install Dependencies
Before you start the project, make sure you have Node.js and npm installed on your machine. Then, follow these steps to install the necessary dependencies:
- Step 1: Purchase and download the boilerplate.
- Step 2: Navigate into the project directory using your terminal:
cd your-project-directory
npm install
2. Replace Metadata Information
Once the dependencies are installed, you'll need to update the metadata in the project to customize it for your own blog:
- Step 1: Open the project in your code editor.
- Step 2: Locate the metadata files located at `/siteMetaData.js` and `/utils/siteMetaData.js` .
- Step 3: Replace the values in the fields with your own data.
3. Write Blog Posts
Once the project is configured, you can start writing blog posts using Markdown or MDX (Markdown + JSX). 7 articles have been included as examples, replace these with your own following the steps below. Keep in mind that you will need 5 articles in the '/content' folder to run the development server or deploy the blog to a hosting platform. Follow these steps to add a new blog article:
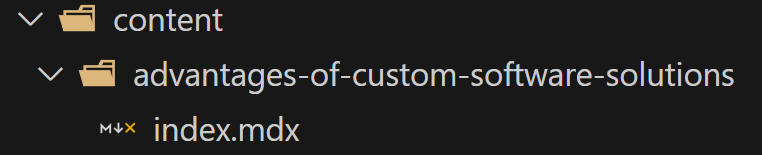
- Step 1: Create a new folder in the `/content/` directory named after the title of the article, using dashes to separate words. Inside that folder, create an `index.mdx` file.
- Step 2: Save the cover image for your article to the `/public/blogs/` folder.
- Step 3: Write the frontmatter (metadata) at the top of the file:

---
title: "Advantages of Custom Software Solutions"
description: "Discover the advantages of custom software solutions for businesses of all sizes."
image: "../../public/blogs/pricing-preview.png"
publishedAt: "2024-08-20"
updatedAt: "2024-08-20"
author: "Jared Hooker"
isPublished: true
tags:
    - custom-software
    - advantages-of-custom-software
    - custom-software-solutions
backlink: https://www.hookerhillstudios.com/Services/Software-Development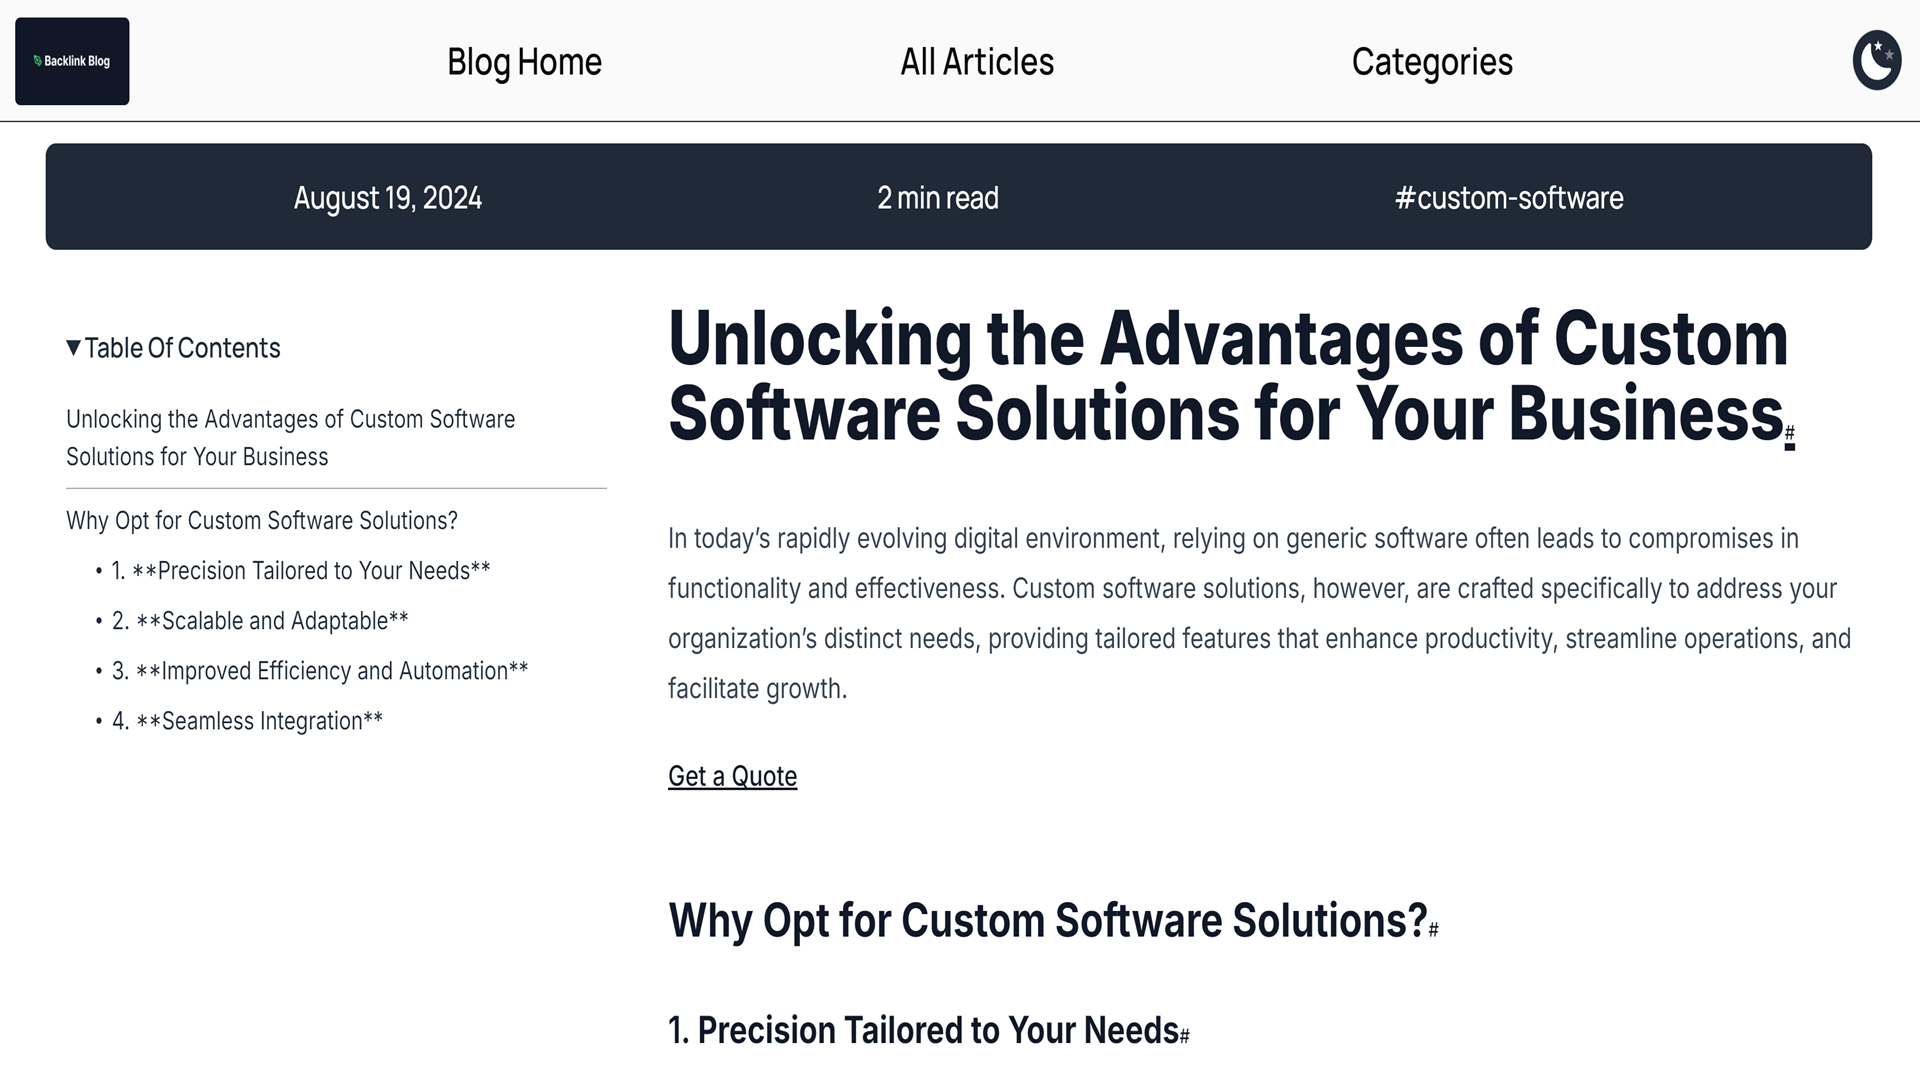
---# Unlocking the Advantages of Custom Software Solutions for Your Business In today’s rapidly evolving digital environment, relying on generic software often leads to compromises in functionality and effectiveness. Custom software solutions, however, are crafted specifically to address your organization’s distinct needs, providing tailored features that enhance productivity, streamline operations, and facilitate growth. ## Why Opt for Custom Software Solutions? ### 1. **Precision Tailored to Your Needs** Unlike off-the-shelf software, which is designed for a broad audience, custom software is created with your specific business objectives and challenges in mind. This ensures that you receive the precise features and workflows you require, without unnecessary complications. > **Statistic:** Many organizations experience a 25% increase in productivity when utilizing software tailored to their unique processes. > ### 2. **Scalable and Adaptable** Your business is constantly changing, and so should your software. Custom solutions are built with flexibility in mind, allowing you to expand functionality, add integrations, or introduce enhancements as your requirements evolve—something generic software often lacks. ### 3. **Improved Efficiency and Automation** By developing software that aligns with your unique workflows, you can minimize manual tasks, eliminate redundancies, and significantly boost overall efficiency. This allows your team to dedicate more time to critical objectives. ### 4. **Seamless Integration** Custom software can be designed to work harmoniously with your existing tools and systems, ensuring smooth data flow and reducing the hassle of switching between different platforms. > **Fact:** 88% of businesses implementing custom software solutions report enhanced operational efficiency. >
npm run dev
4. Deploy the Project
Once your blog is ready, you can deploy it to a hosting platform like Vercel, Netlify, or any other service that supports static site hosting.
- Step 1: Push your code to a GitHub repository (or other supported Git providers).
- Step 2: Log in to your hosting platform. For example, go to Vercel if you're using Vercel.
- Step 3: Connect your GitHub repository to your hosting platform. Vercel and Netlify offer one-click Git integrations.
- Step 4: Configure your deployment settings. If using Vercel, use the defaults.
- Step 5: Click "Deploy" and your blog will be live!
Conclusion
Setting up your blog project involves installing dependencies, customizing metadata, writing content, and deploying the site. Once deployed, you can continue to add new posts and update your content anytime to keep your blog fresh and engaging.